


This pattern is available as a free download here.
SIZE:
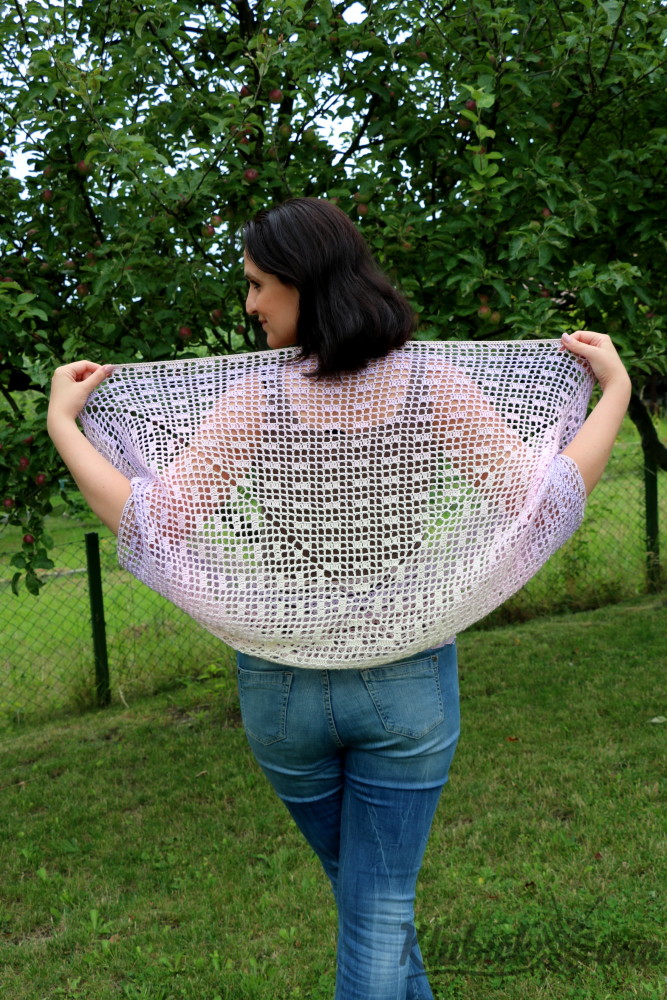
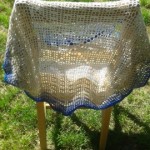
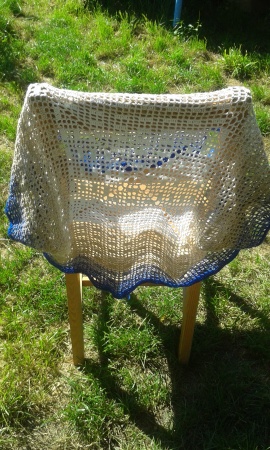
The side length of the finished square (before stitching together) is 85 cm.
For my height (180 cm) in particular this measurment was a necessity. If your height is up to 170 cm, the side length of 75-80 cm is more than okay. So, it means you’ll need a yarn with a smaller length/rolling up of 750 metres.
USED ABBREVIATIONS:
dc = double crochet
sc = single crochet
hdc = half double crochet
ch = chain
sl st = slip stitch
MATERIALS:
– hook no. 3,5 (and smaller hook no. 3 for edging)
– chain markers
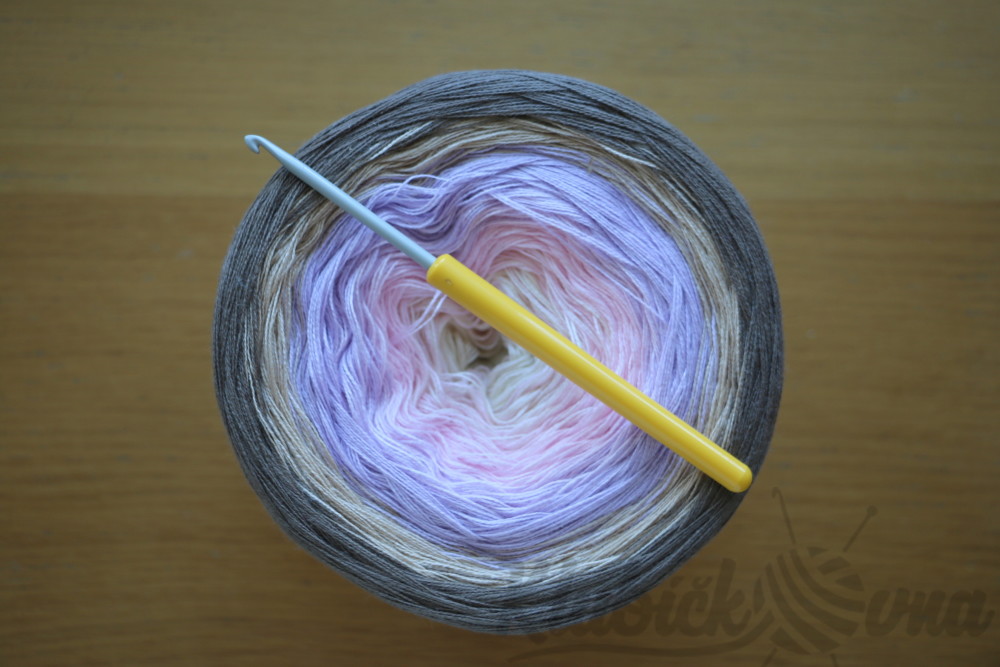
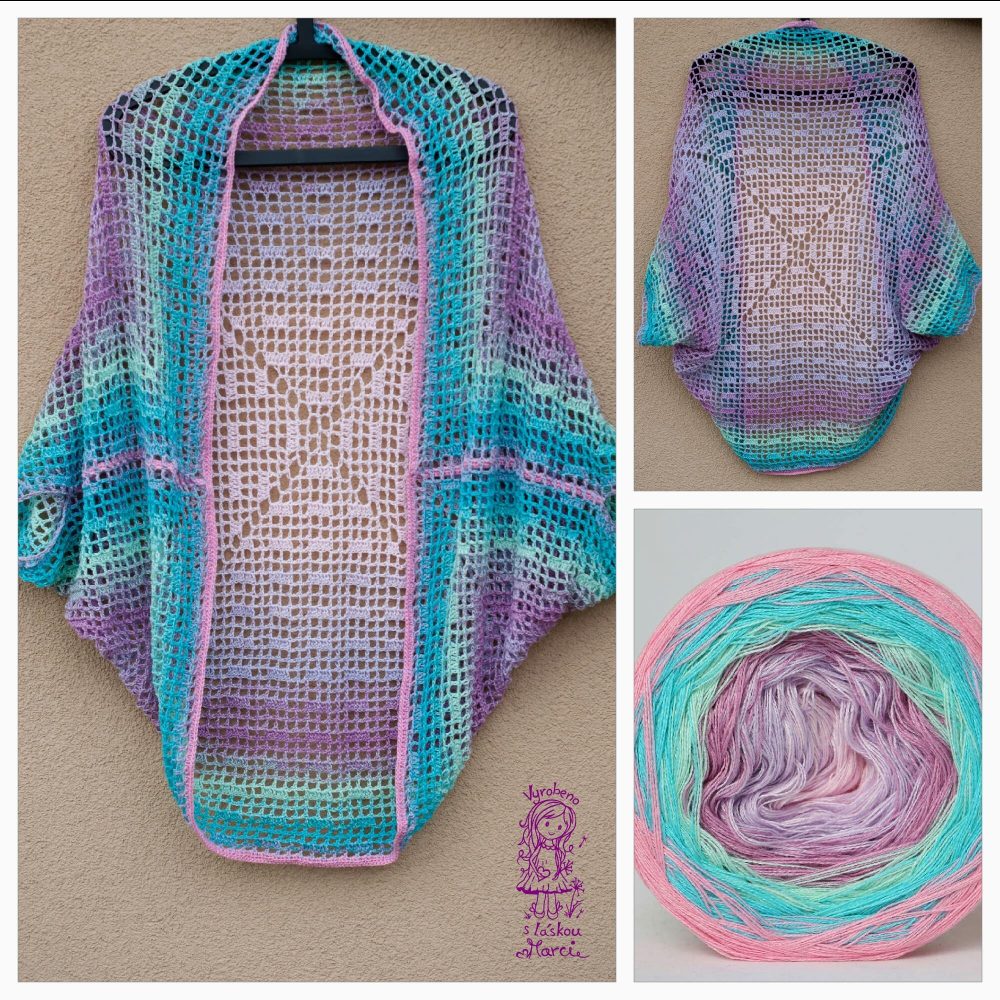
– 1 skein of the “rainbow yarn” – 3-ply; length of 900 meters (750 meters for the height up to 170 cm)
In this case, these colour shades are used: 110 – cream; 350 – light pink; 075 – lavender; 120 – beige; 505 – brown-grey
INSTRUCTIONS:
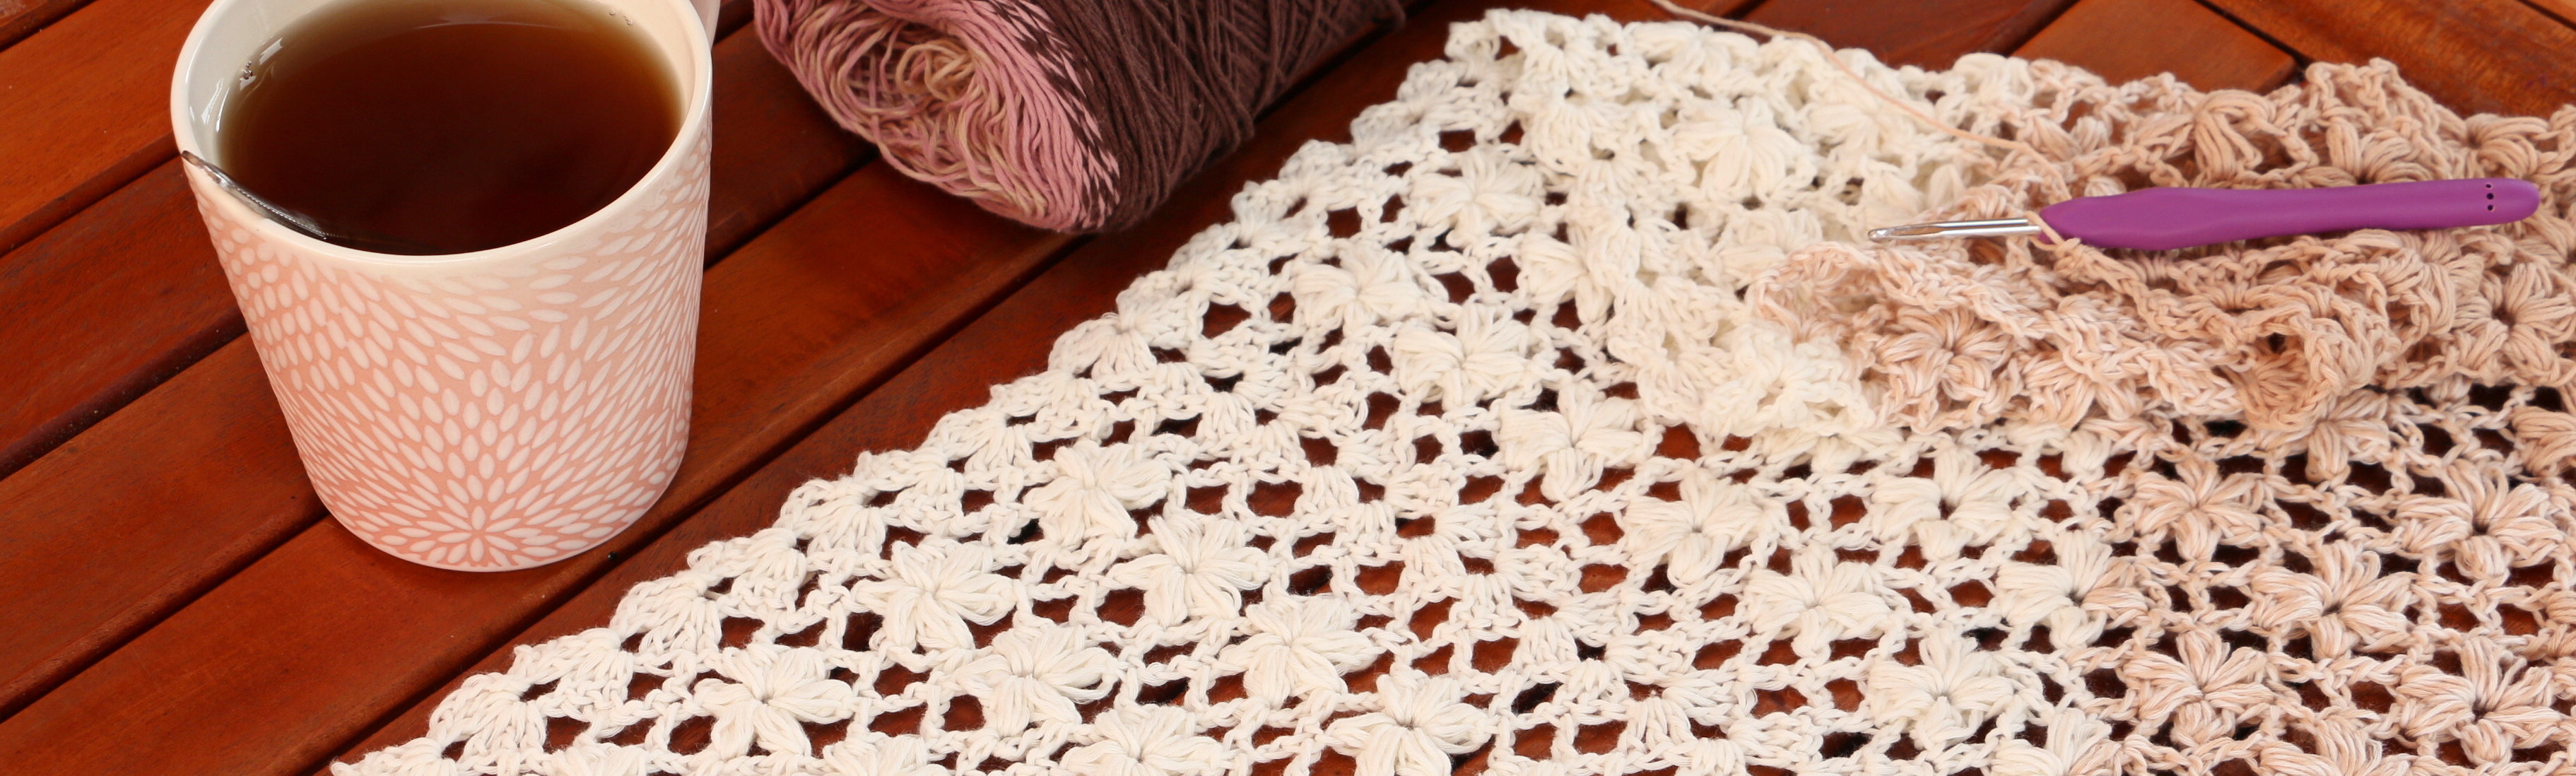
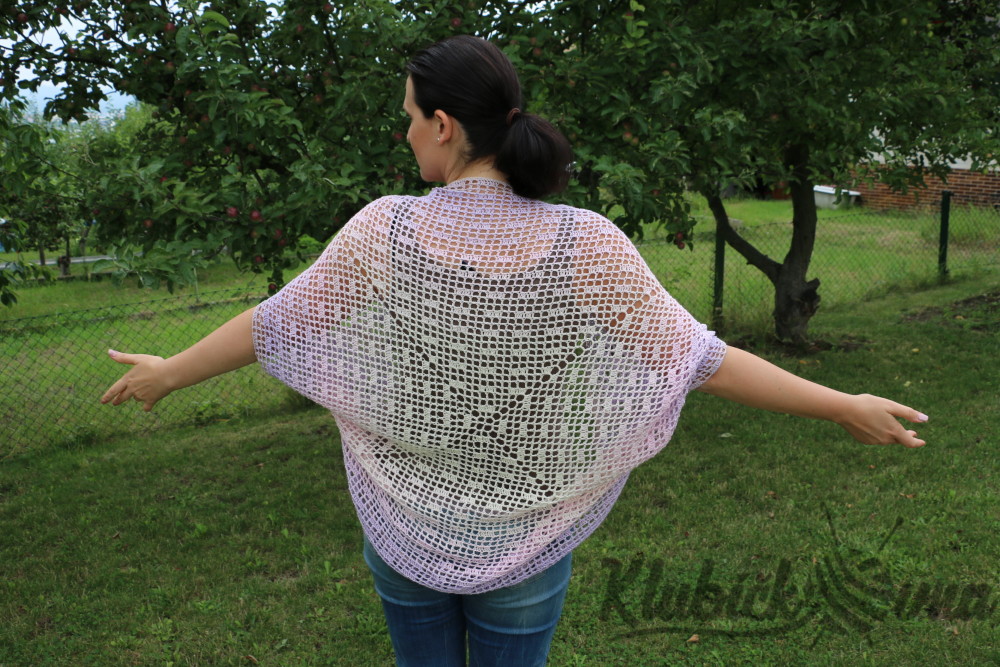
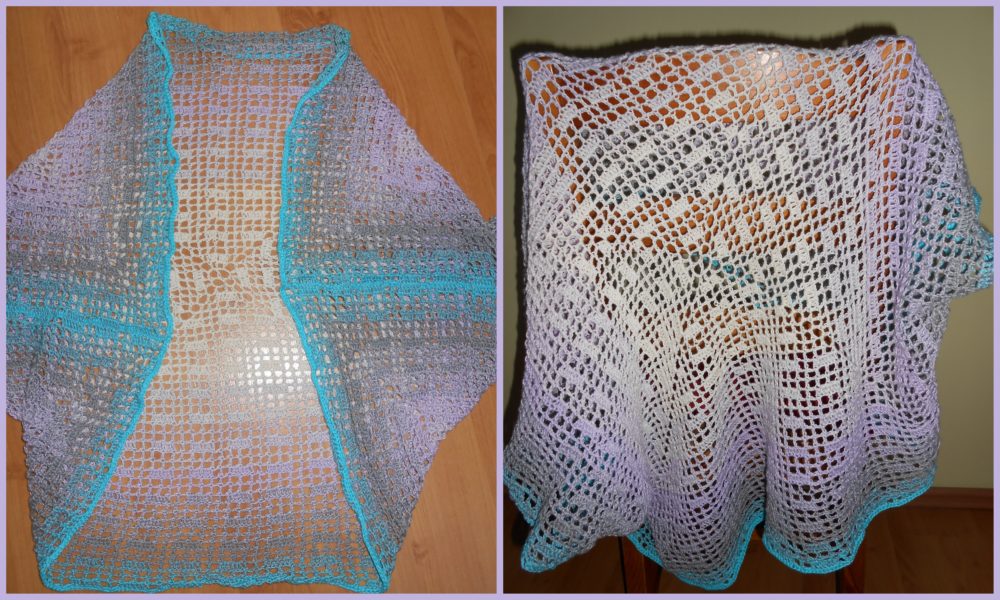
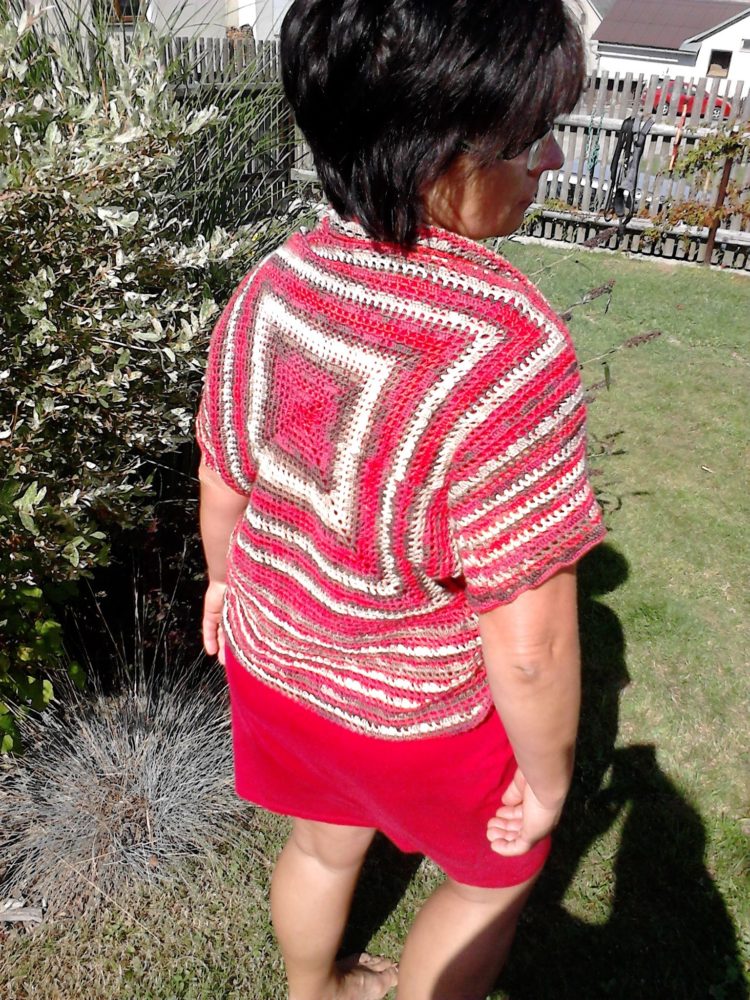
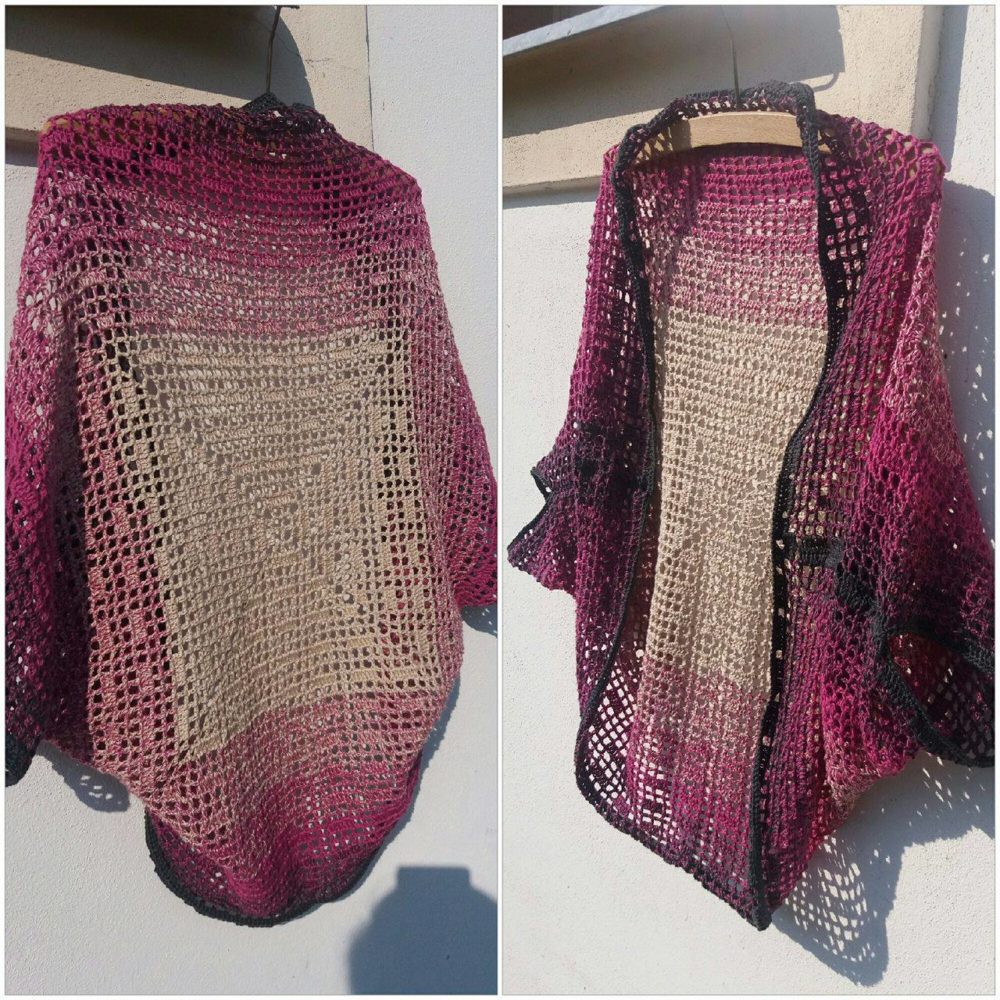
We’ll crochet a square as one piece.
Just at the end we’ll stitch the square together in a way to make some space for the arms. You won’t need any scissors through the crocheting procedure, even stitching together will be done smoothly. So, there won’t be any other yarn tags left except the beginning and the end.
The first two rows will be made of a simple grid, the third row will be a filling part.
SCHEMA:

Make chain 9.

Row 1:
[1dc + 5ch + 1dc + 5ch + 1dc + 5ch] in 1st ch from hook, sl st in 4th ch from hook.


Row 2:
ch 5, [1dc + 5ch + 1dc] in 1st window space, [2ch + 1dc] in next dc from the previous row,
*2ch, [1dc + 5ch + 1dc] in window space, 2ch, 1dc in dc*
Part between stars (*) two times more.
2ch, sl st in 3rd chain from the beginning of the row.


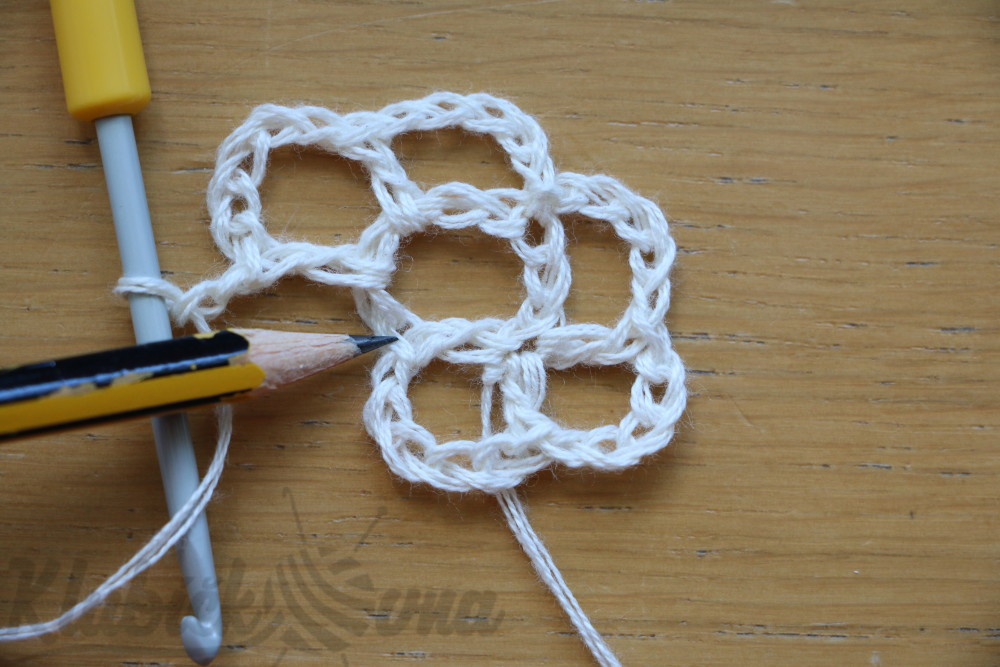


Row 3:
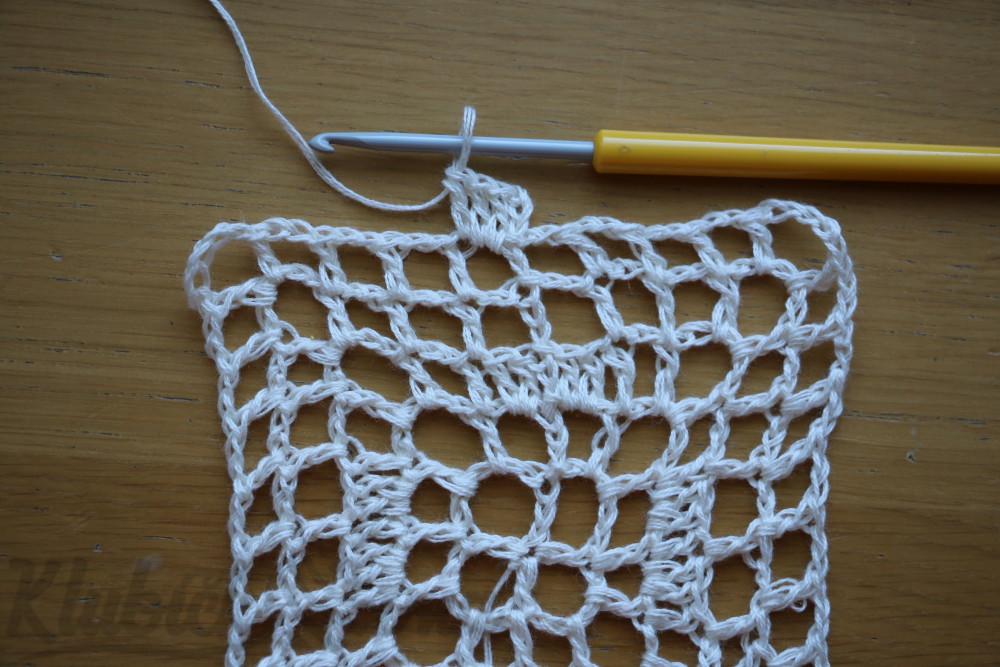
We’ll make some “filled windows” now. Basically, we keep crocheting like this:
– for making a “simple” window we crochet only 2ch which are bordered by 1dc [= a grid]
– for making a “filled” window we crochet 2dc in instead of 2ch [+ 2 bordering dc are also presented]
the corners are crocheted still in the same way: 2ch + 1dc + 5ch + 1dc + 2ch
So:
3ch, 2dc in 1st window space, 1dc in dc
the corner: 2ch + 1dc + 5ch + 1dc + 2ch
next two windows filled with: 1dc in dc, 2dc in the window, 1dc in dc, 2dc in the window, 1dc in dc
the corner: 2ch + 1dc + 5ch + 1dc + 2ch
We keep crocheting the whole perimeter like mentioned above, the last window is also filled so that the pattern symmetry is kept on each side.
This row is finished by sl st in 3rd ch from the beginning of the row.


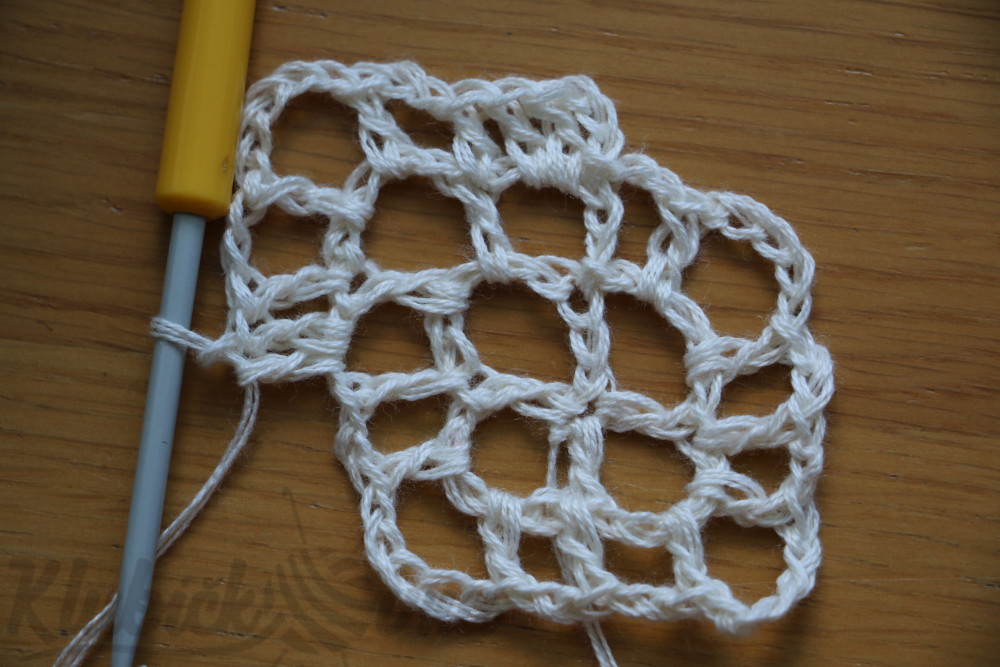


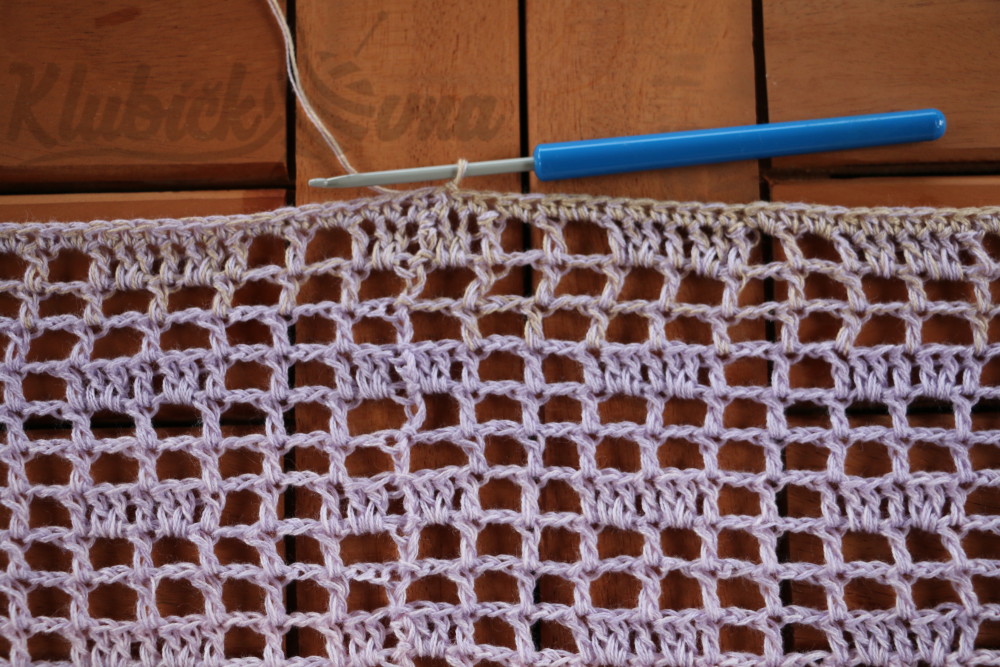
Row 4:
We crochet only a grid. Basically, we change dc and 2ch.
We start with 5ch, 1dc in 3rd dc from the previous row.
Since the previous third row was filling, we WON’T crochet dc in each dc, BUT only in these which make a grid outline. See the photos.
It means when we are above the filled windows, we crochet 1dc in 1st, 4th and 7th dc.
In the corner: 2ch + 1dc + 5ch + 1dc + 2ch.
It is finished by sl st in 3rd ch from the beginning of the row.


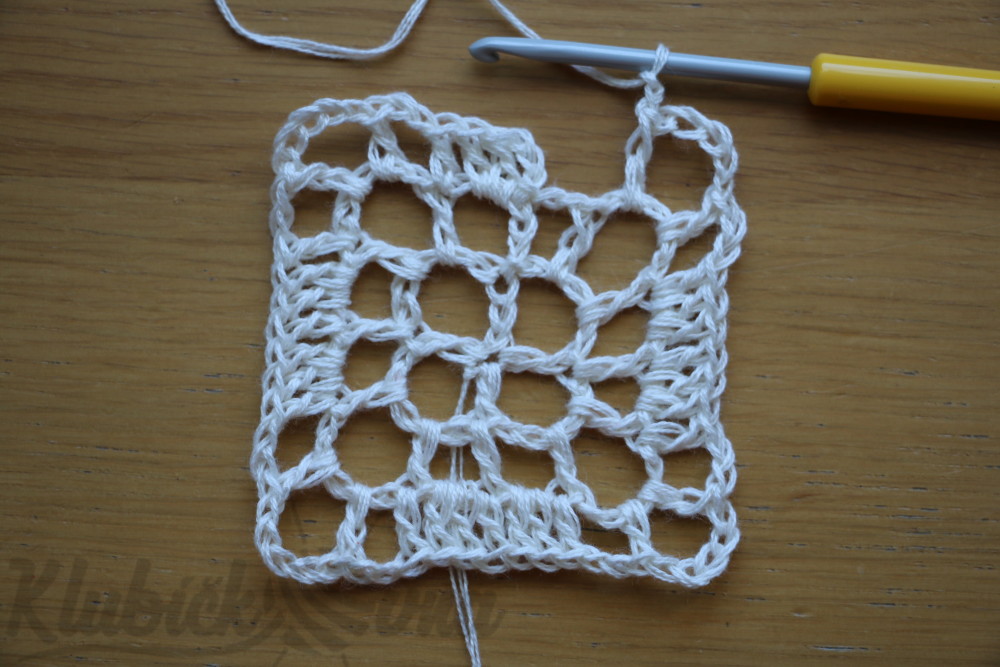
Row 5:
We crochet only a grid again.
It is simple, we crochet dc in dc and ch in ch. We start with 5ch, finish with sl st in 3rd ch.
The corner: 2ch + 1dc + 5ch + 1dc + 2ch.

Row 6:
A filling part.
We start with 3ch and very 1st window is filled. Next two windows are empty and next two are filled again. The second filled window goes directly to the corner chain.
It means the corner of this row: 3dc + 5ch + 3dc.
All the square sides are entirely symmetric and two empty windows are repeatedly changed with two filled windows.
The last window must be filled so that the pair is complete [in case there is only one filled window at the beginning of the row].
We finish with sl st in 3rd ch.


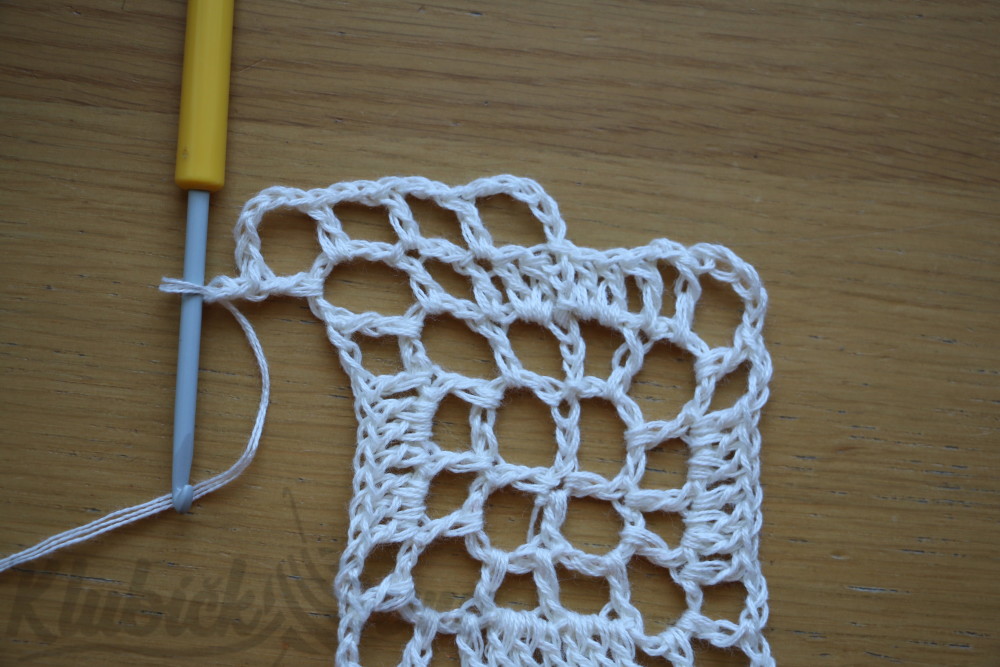
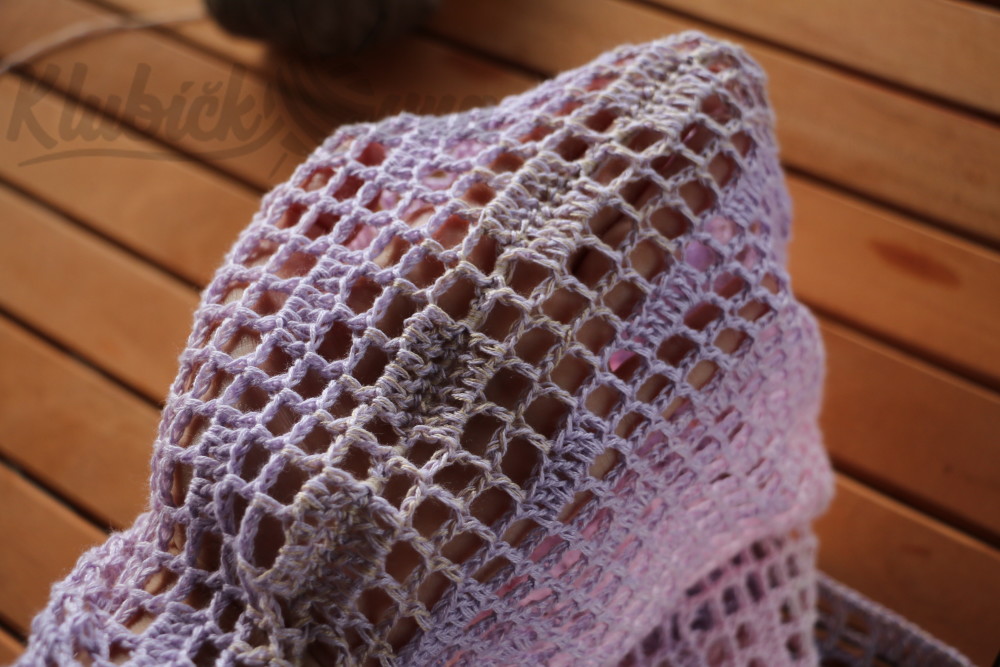
We keep crocheting like that again and again. Two rows are always a simple grid, the 3rd row is filling.
The filled windows are right above each other which could be a signal you are crocheting in a correct way.
The longer the rows are, the more differently in corners the filled windows are. Sometimes, there is only 1 empty window before a corner, another time there are 2 empty windows and a “full“ corner, or two full windows and an empty one right in a corner. See the picture.

Personally, I finished the square with an 85 cm long side since I am very tall. If you are tall up to 170 cm, a square with a 75-80 cm side long is enough.

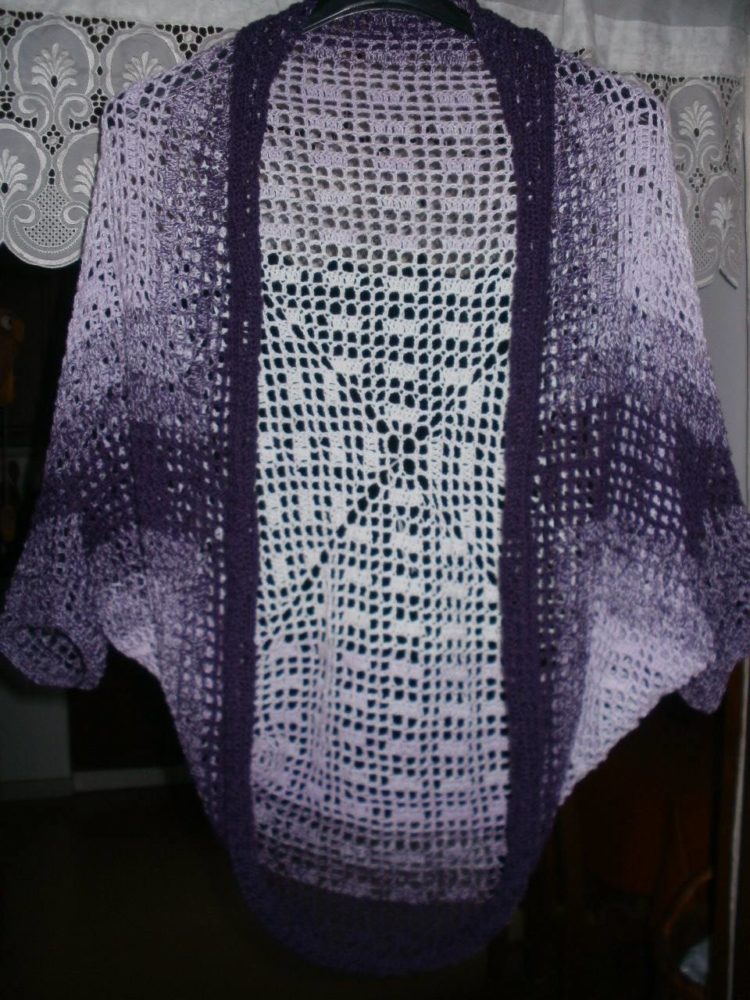
EDGING AND STITCHING TOGETHER:
Put the square in front of you – facing the right/facial part, the hook with the yarn is on the upper side.
Get the square bottom and put it on the upper.
The half-folded square must be smooth. Considering that the pattern is entirely symmetric on both sides, it is not a problem. The filled windows will fit each other which can help you.

On short sides the chain markers or safety pins will help you to recognize which part will be stitched together and which will stay unstitched (a space for your arm).
About two thirds of the short side is necessary to stitch together (the part between a yellow and a pink chain marker), the rest is unstitched.


Since the hook is placed in the middle of the long side, which is the side without any stitching together, we start only edging by hdc. Now it is time to change a hook for a smaller one, no. 3.
The edging makes the work neat. The grid itself is very loose and unfasten, so while edging the smaller hook helps you make it more fasten.


When you are at the pink chain marker, start stitching both folded sides together towards the yellow marker.
Take the hook no. 3,5 again, because now tightening at the joint is not suitable.
Get the hook under the edging crochets of both sides and join them by sc.
At the point of the yellow marker, we change the side and single crochet back to the pink marker.
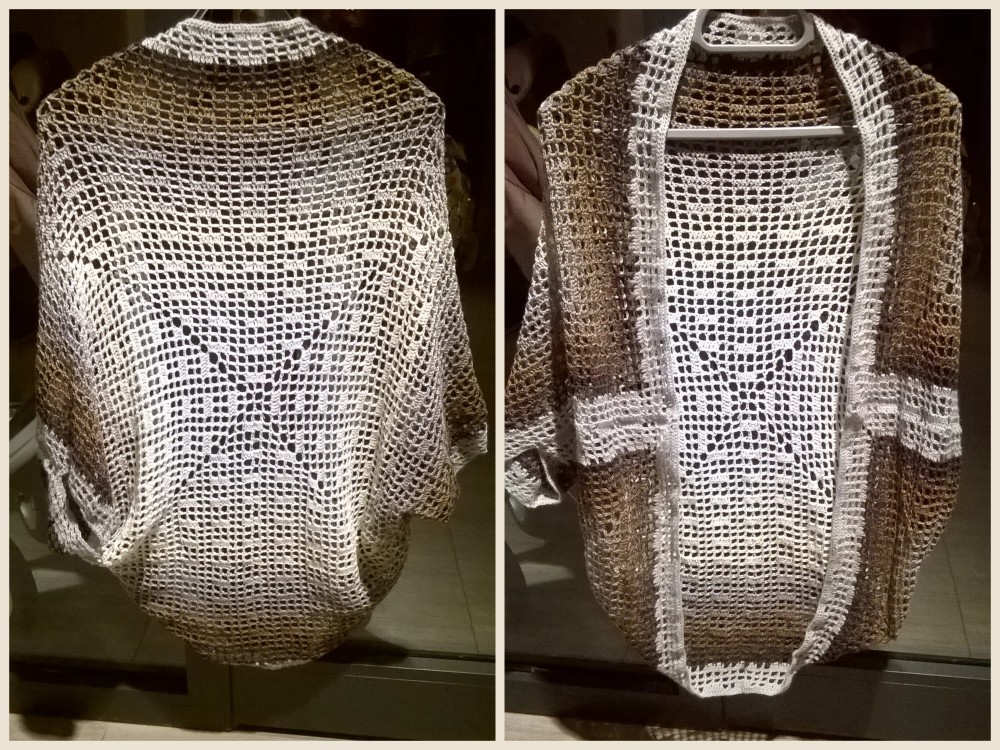
In the pictures below you can see a joint from the underside and front.


Now we make the edging (with a smaller hook) along the whole long side (the front from your view). Let´s continue with the second short side – we do it the same as the first one.
Finally, we make the edging of the second part of the second long side by hdc. It is finished by sl st.
The upper part of the very last row is single-crocheted (with a smaller hook), so you make hdc.
The joints are left behind.

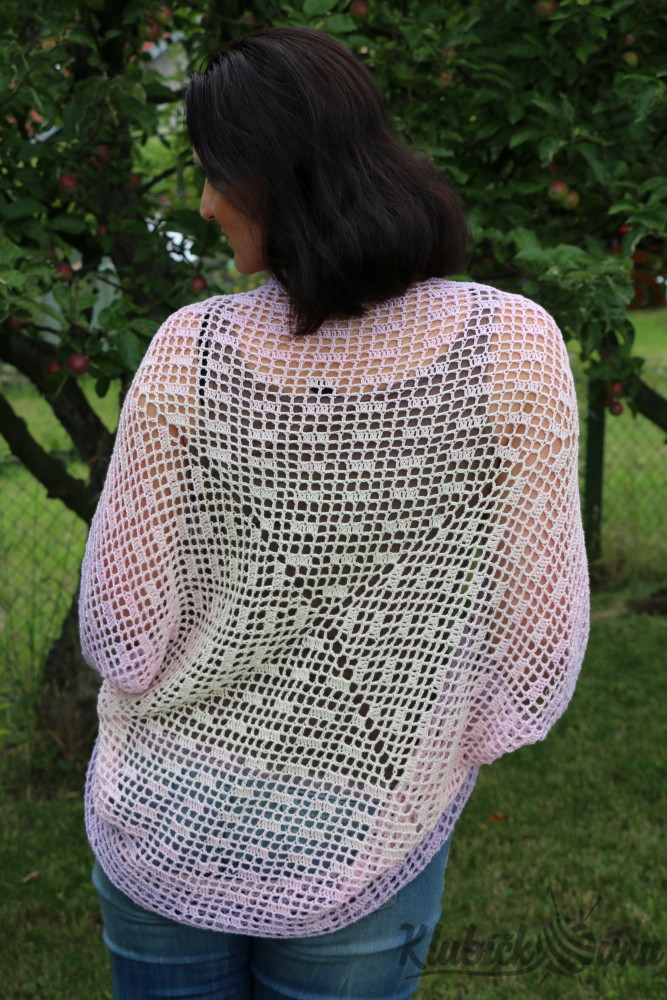
FINISHED 🙂
I will be happy to present your final work here.
Send me your photo on e-mail: klubickovna@seznam.cz
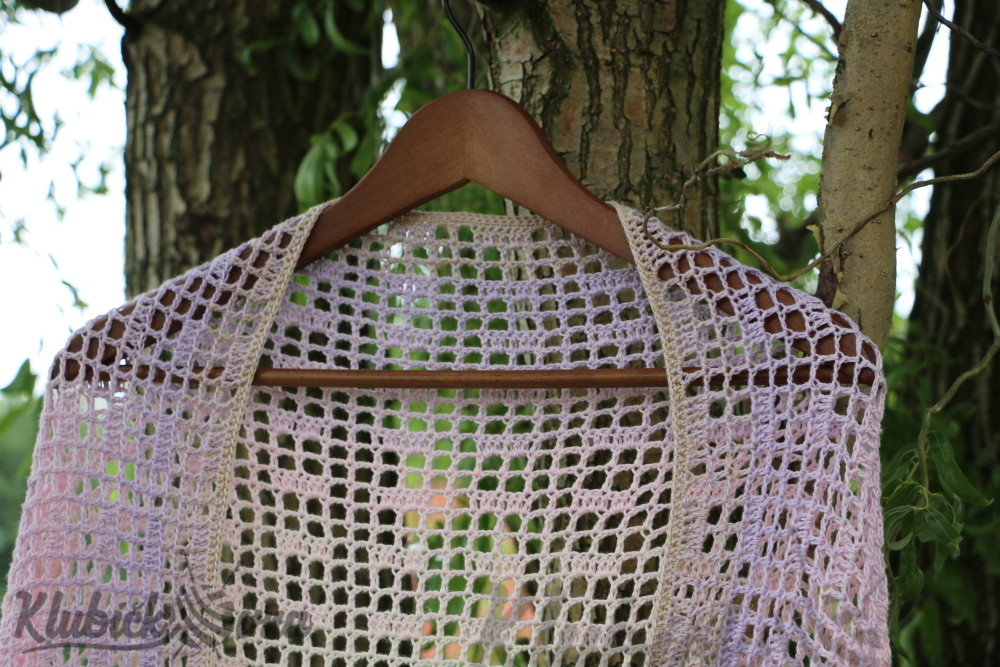
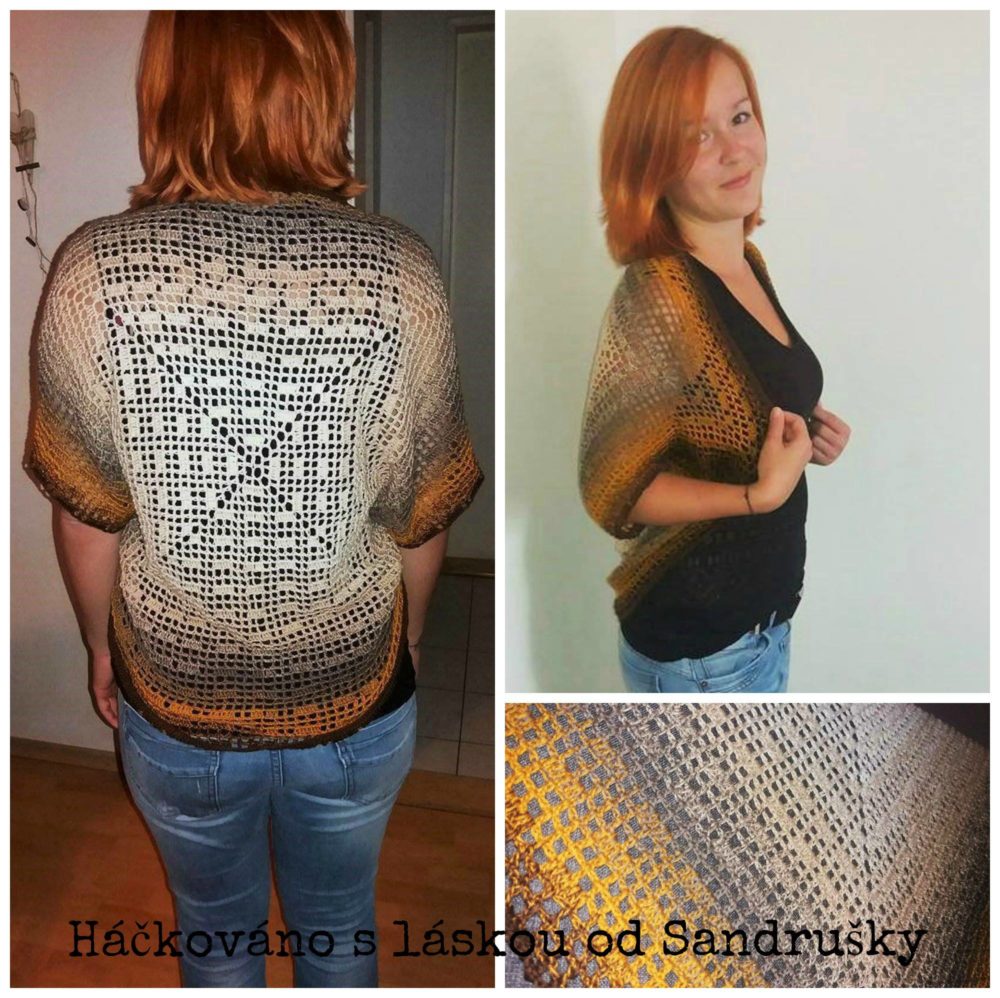
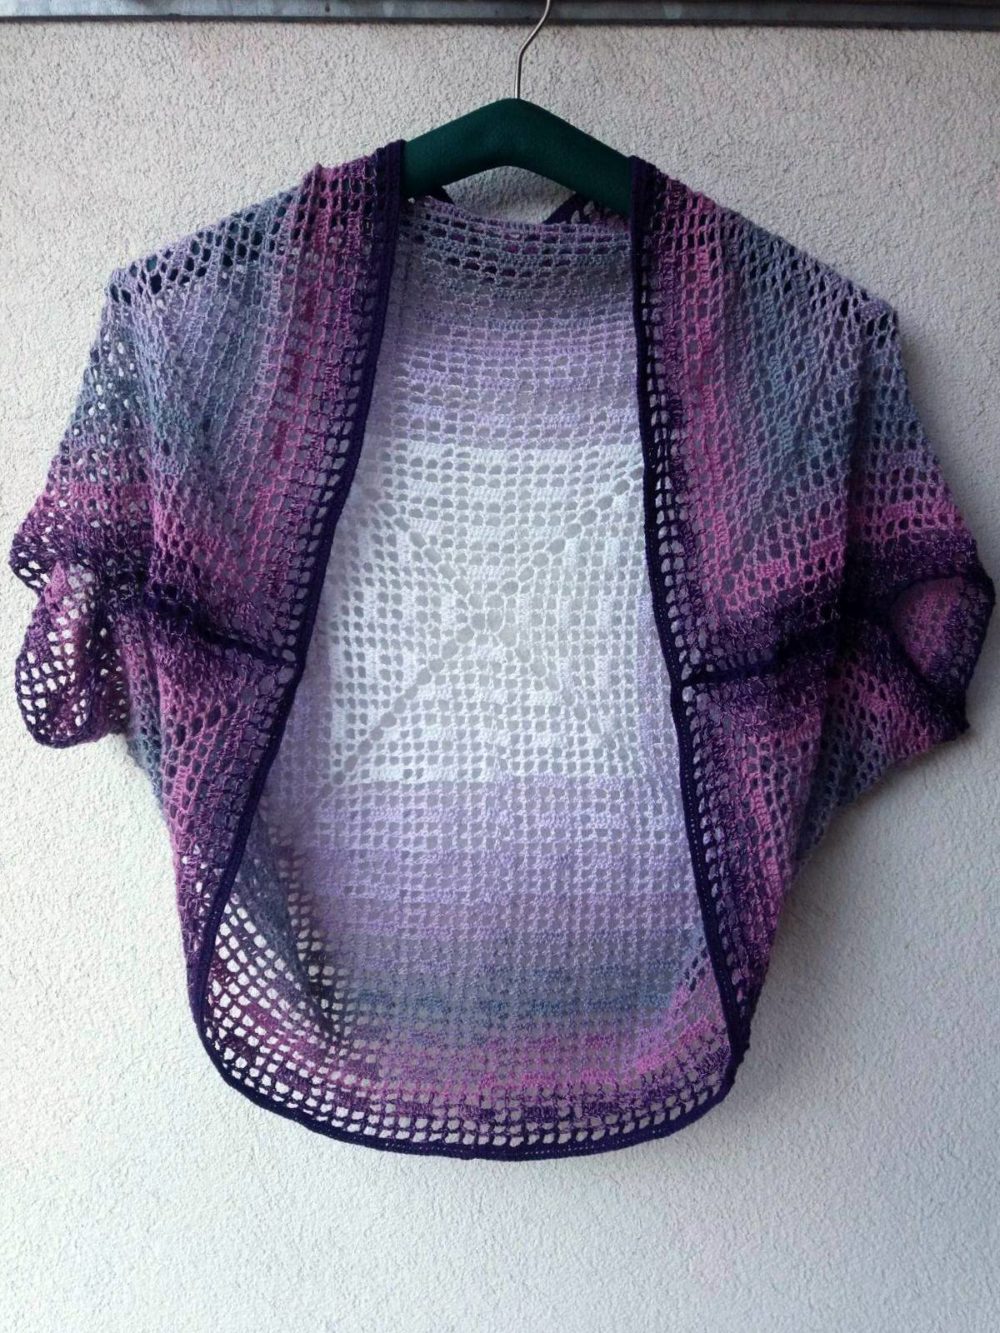
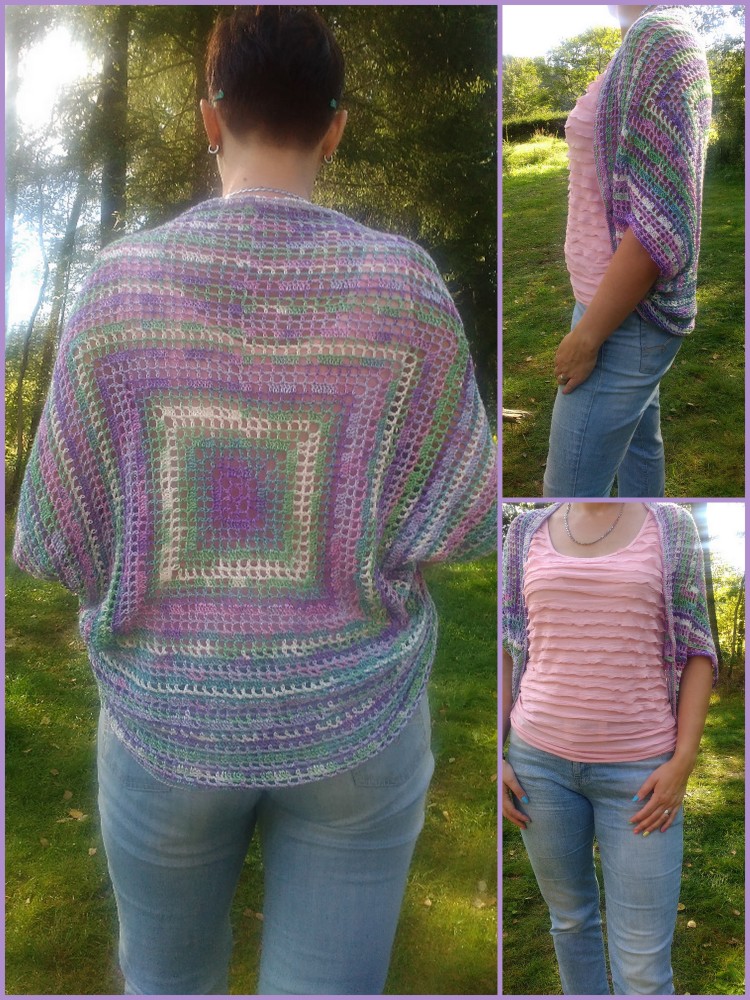
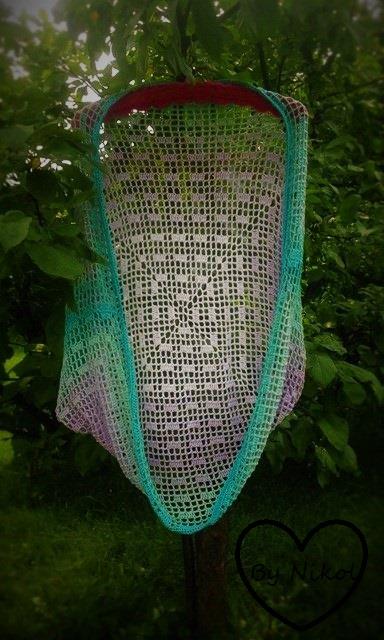
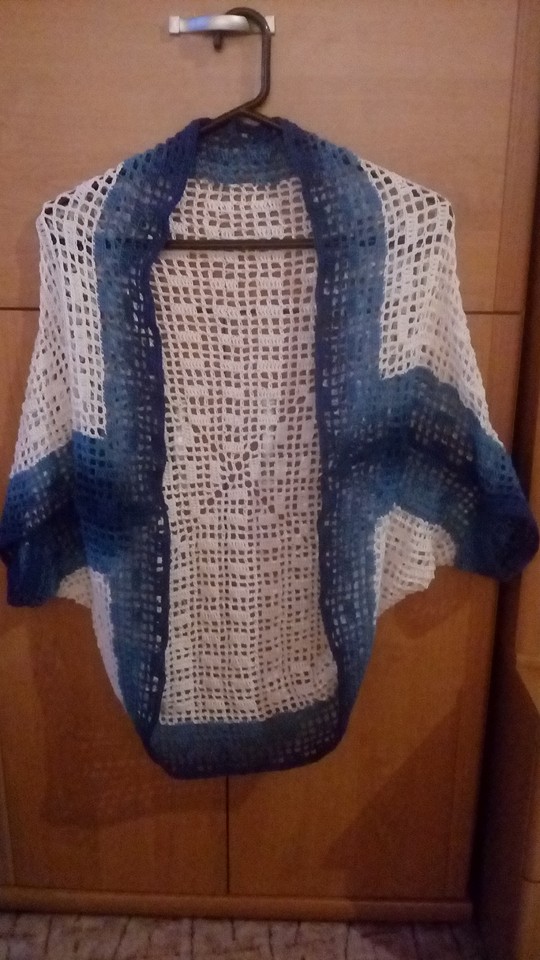
Your photogallery:
-

- od Marcelky
-
- Od Barči

-

- Od Sandry
-

- od Míši
-

- Od Renči
-
- Od Jíti
-

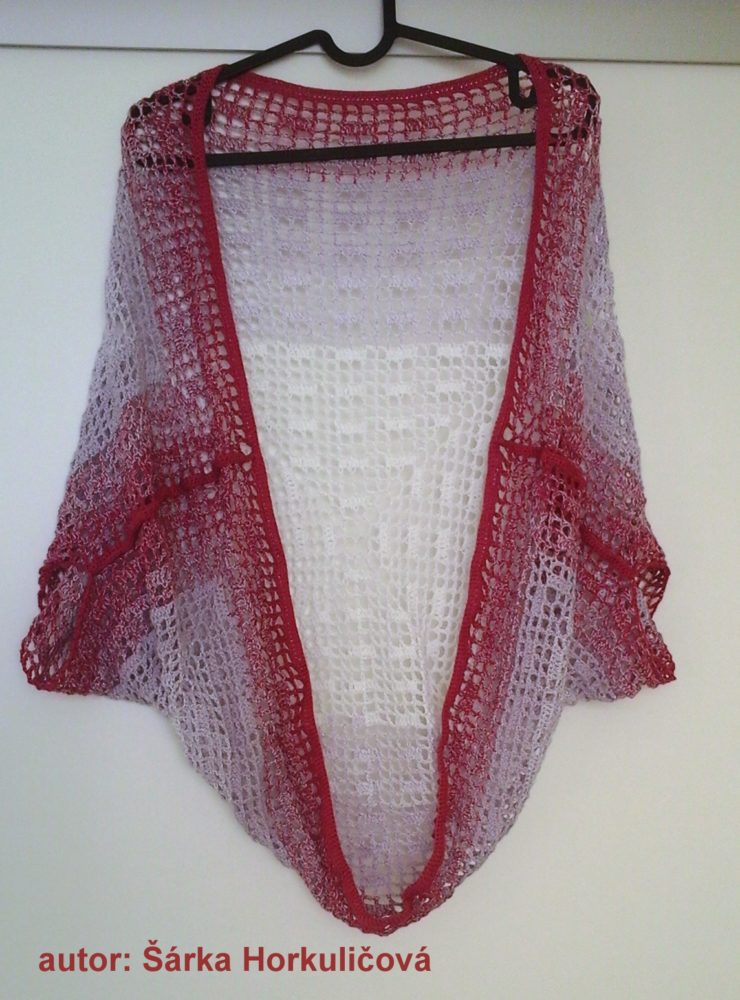
- Od Šárky
-
- Od Pavlínky
-
- Od Sandry
-

- Od Ivči

-
- Od Elišky
-

- Od Olči
-

- Od Nikči

-

- Od Nikči
-

- Od Darinky

-
- Od Soni
-

- od Miriam
-
- Od Zdenky
Pro nás je to jen kapka, ale pro potřebné oceán…
Chodím už téměř dvacet let, a neubylo mě, vážně ne, spíš naopak 🙂
Obecné informace
Seznam transfuzních stanic